Introduction
Creating your own leather wallet is a rewarding project. It combines craftsmanship with practicality. Whether you want a minimalist cardholder or a full-sized wallet, making one by hand can be a fulfilling experience. This article will guide you through how to make a leather wallet. We will cover the materials needed, the step-by-step construction process, and tips for finishing your wallet beautifully.
Materials You Will Need
Essential Tools
Before you begin, gather the tools you need. Having the right tools will make the process smoother and more enjoyable. Here are the essential tools you should have:
- Leather: Choose a high-quality leather. Vegetable-tanned leather is a popular choice because it ages beautifully. You can find leather at craft stores or online.
- Cutting Tools: A sharp utility knife or rotary cutter will work well for cutting leather. You’ll also need a cutting mat to protect your work surface.
- Ruler: A metal ruler is ideal for measuring and making straight cuts.
- Leather Punch: This tool helps create holes in the leather for stitching. You can find various sizes of leather punches.
- Needle and Thread: Use a heavy-duty needle suitable for leather. Waxed thread is recommended because it is strong and easy to work with.
- Adhesive: Leather cement or contact cement will hold pieces together while you stitch.
- Edge Tool: An edge tool smooths and rounds the edges of the leather. This gives your wallet a polished look.
- Burnishing Tool: This tool smooths and seals the edges of the leather. It enhances the overall appearance.
- Cutting Mat: A self-healing cutting mat protects your work surface and keeps your blades sharp.
Choosing Your Leather
Selecting the right leather is crucial. Full-grain leather is the best choice for durability and beauty. It develops a rich patina over time. This aging process adds character to your wallet. However, it can be more expensive. If you are on a budget, consider using top-grain leather. It is slightly lower in quality but still a great option for beginners.
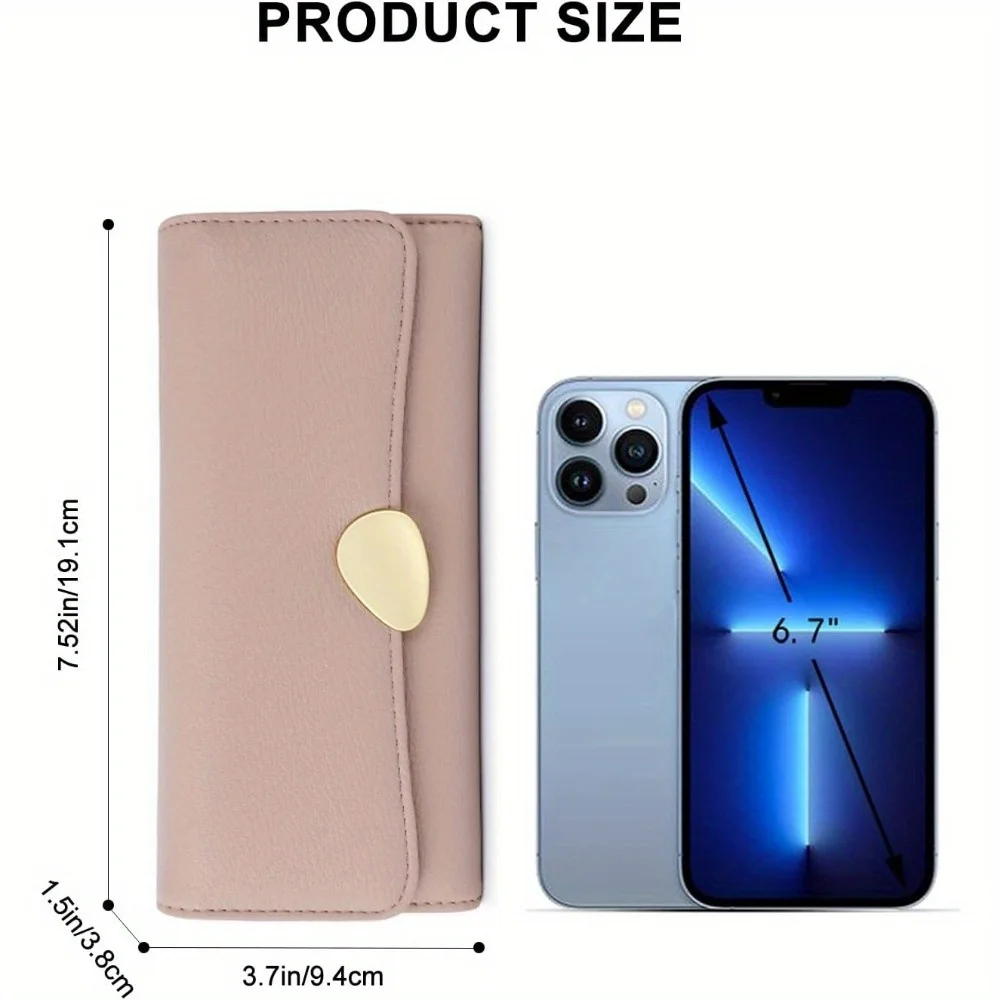
You can choose different colors and textures. A classic brown or black leather gives a timeless look. Bright colors or unique textures can make a statement. Think about your personal style and how you want the wallet to look.
When buying leather, ensure you get enough for your project. A standard wallet typically requires a piece that measures at least 8 inches by 10 inches. If you want to add extra features like card slots or a coin pocket, buy more leather.
Planning Your Wallet Design
Sketching the Design
Before cutting leather, sketch your wallet design. Decide on the type of wallet you want. A bifold wallet is a common choice. It has two sections that fold in half. A cardholder is smaller and holds a few cards. Consider how many cards you need to carry and whether you want a coin pocket.
Sketch your design on paper. Include measurements for each section. A bifold wallet usually measures about 4.5 inches by 3.5 inches when folded. This size fits comfortably in pockets. If you are unsure about the measurements, look for wallet templates online. These templates can help guide your design and cutting.
Planning the Layout
Once you have your design, plan how you will lay out the pieces on your leather. Make sure to use the leather efficiently to avoid waste. Consider the grain direction of the leather as well. This direction can affect the wallet’s final look and durability. The grain should run parallel to the fold of the wallet for the best results.
Use a pencil to trace your design onto the leather. Make sure to include any additional features like card slots or stitching lines. If you are adding multiple layers, ensure that each layer aligns correctly. This step is crucial for a clean finish.
Cutting the Leather
Preparing to Cut
Now that you have your design traced onto the leather, it’s time to cut. Start by gathering your cutting tools. Make sure your utility knife is sharp. A dull blade will create rough edges and may damage the leather. A clean cut is essential for a professional finish.
Cutting the Pieces
Place the leather on the cutting mat. Use your metal ruler to guide your cuts. Press firmly against the ruler to prevent slipping. Cut along the lines you traced earlier. Take your time and be careful. It is better to make slow, steady cuts than to rush and make mistakes.
If you are cutting multiple layers for card slots, stack them and cut them at the same time. This method ensures that all pieces are the same size. Once you finish cutting, remove any excess leather scraps. Keep your workspace tidy for the next steps.
Preparing the Edges
After cutting, the edges of your leather pieces may be rough. Use an edge tool to smooth and round the edges. This process improves the wallet’s appearance and helps prevent fraying. Take your time with this step to ensure a clean edge. Once the edges are smooth, you can proceed to burnish them for a polished look.
Assembling the Wallet
Creating the Card Slots
If your wallet design includes card slots, start with those. Take the pieces you cut for the card slots. Lay them on top of the wallet’s main body piece. Use leather cement to attach them temporarily. Apply a thin layer of cement to the back of each card slot piece and press them into place.
Make sure the slots are evenly spaced. You can use a ruler to measure the distances between each slot. Allow the adhesive to dry according to the manufacturer’s instructions. Once the glue is set, use your leather punch to create holes for stitching along the edges of the card slots.

Stitching the Wallet Together
Once everything is glued and the card slots are in place, it’s time to stitch your wallet. Use the leather punch to create evenly spaced holes along the edges where you want to stitch. A standard distance is about 1/8 inch apart.
Thread your needle with the waxed thread. Start stitching from the inside to hide the knot. Use a saddle stitch for added strength. This stitch technique involves using two needles—one on each end of the thread. Pass each needle through the same hole alternately. Pull the thread tight but be careful not to overstretch the leather.
Continue stitching until you reach the end of your wallet. Make sure the stitches are even and tight. Once finished, tie off the thread securely on the inside of the wallet.
Finishing Touches
Burnishing the Edges
The final step in creating your leather wallet is to burnish the edges. This process gives your wallet a polished, professional appearance. Use a burnishing tool or a piece of canvas to rub the edges of the leather. This action smooths and seals the edges.
You can also apply a bit of water to the edges before burnishing. The moisture helps the fibers compress and creates a smoother finish. Be careful not to soak the leather. A little moisture goes a long way.
Conditioning the Leather
Once the edges are burnished, it’s time to condition the leather. Leather conditioner helps maintain the leather’s suppleness and prevents it from drying out. Apply a small amount of conditioner with a soft cloth. Rub it into the leather using circular motions. Allow the conditioner to absorb for a few minutes, then buff it off with a clean cloth.
Conditioning also enhances the color of the leather, making it look richer and more vibrant. Regular conditioning will keep your wallet looking new for years to come.
Conclusion: Enjoy Your Handmade Wallet
Congratulations! You have now made your own leather wallet. This project requires patience and attention to detail, but the result is worth it. You can carry a wallet that reflects your style and craftsmanship. Plus, handmade items have a personal touch that store-bought products lack.
As you use your wallet, you’ll notice how it develops character over time. Leather ages beautifully, and your wallet will tell a story through its wear and tear. You might even consider making wallets as gifts for friends and family. They will appreciate the effort and love that goes into handmade items.
Remember, practice makes perfect. The more you work with leather, the more skilled you will become. Enjoy your new hobby, and happy crafting!
